Home » Without Label » How To Build A Floor Cabinet - How To Build A Console Cabinet Better Home News : Set the cabinet aside and begin building the cabinet doors.
How To Build A Floor Cabinet - How To Build A Console Cabinet Better Home News : Set the cabinet aside and begin building the cabinet doors.
How To Build A Floor Cabinet - How To Build A Console Cabinet Better Home News : Set the cabinet aside and begin building the cabinet doors.. Set the cabinet on the base, scribe it to the wall, if necessary, and belts and to your scribe lines. Our plans will show you how to build your own in two weekends, max. Now, step back and admire your work! Clearly i need a bigger shop haha. When you build your own pantry, keep the proportions of the rest of the kitchen in mind.
The cabinet are designed to be hang on the wall, that will provide some space under for easy cleaning, as well as keeping the storage away from concrete floor moisture. Clearly i need a bigger shop haha. Remove the cabinet and position the deflector over the opening by aligning the front edge with the line scribed on the floor. If you're looking to spruce up or replace your kitchen cabinets, we've assembled a list of 16 blueprints below. To install the cabinet, you'll need to shim the base to the floor to level it.
How To Building A Kitchen Island With Cabinets Hgtv from hgtvhome.sndimg.com Set the cabinet on the base, scribe it to the wall, if necessary, and belts and to your scribe lines. Clearly i need a bigger shop haha. Measure and cut the cabinet door trim to size and drill 3/4″ pocket holes in the ends of both vertical trim pieces. When you build your own pantry, keep the proportions of the rest of the kitchen in mind. Then, cut 4 pieces of 1 by 6 lumber to the same width as the bottom panel for the front, back, and top brace panels. To build a cabinet, start by cutting panels for the bottom and sides out of mdf, plywood, or another type of laminate. Working drawings which are available for building the cabinets are illustrated in reduced ceilingsize on pages 9 to 23. You will need to have the time.
Add backing to middle entertainment center cabinet.
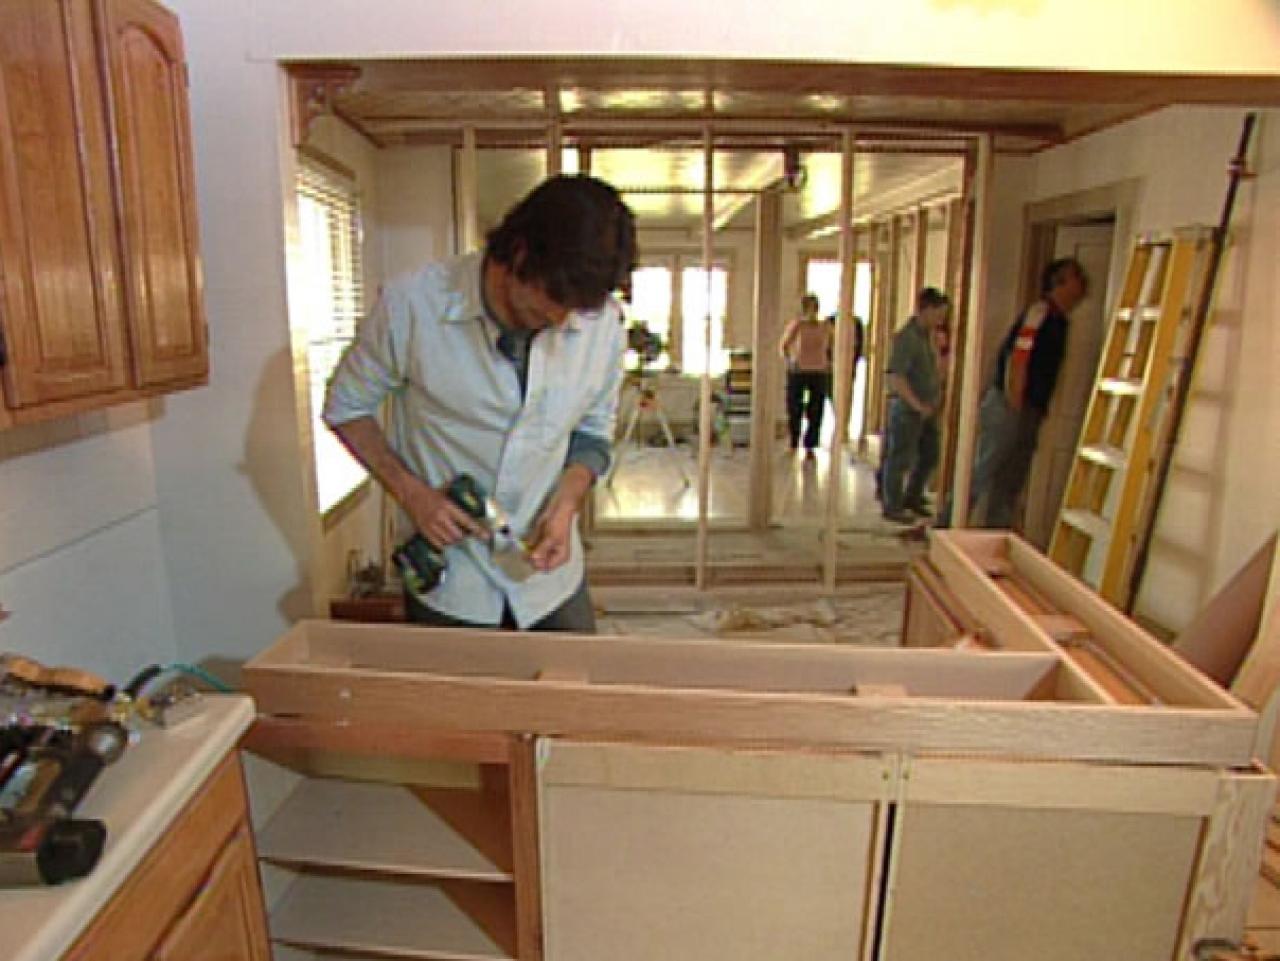
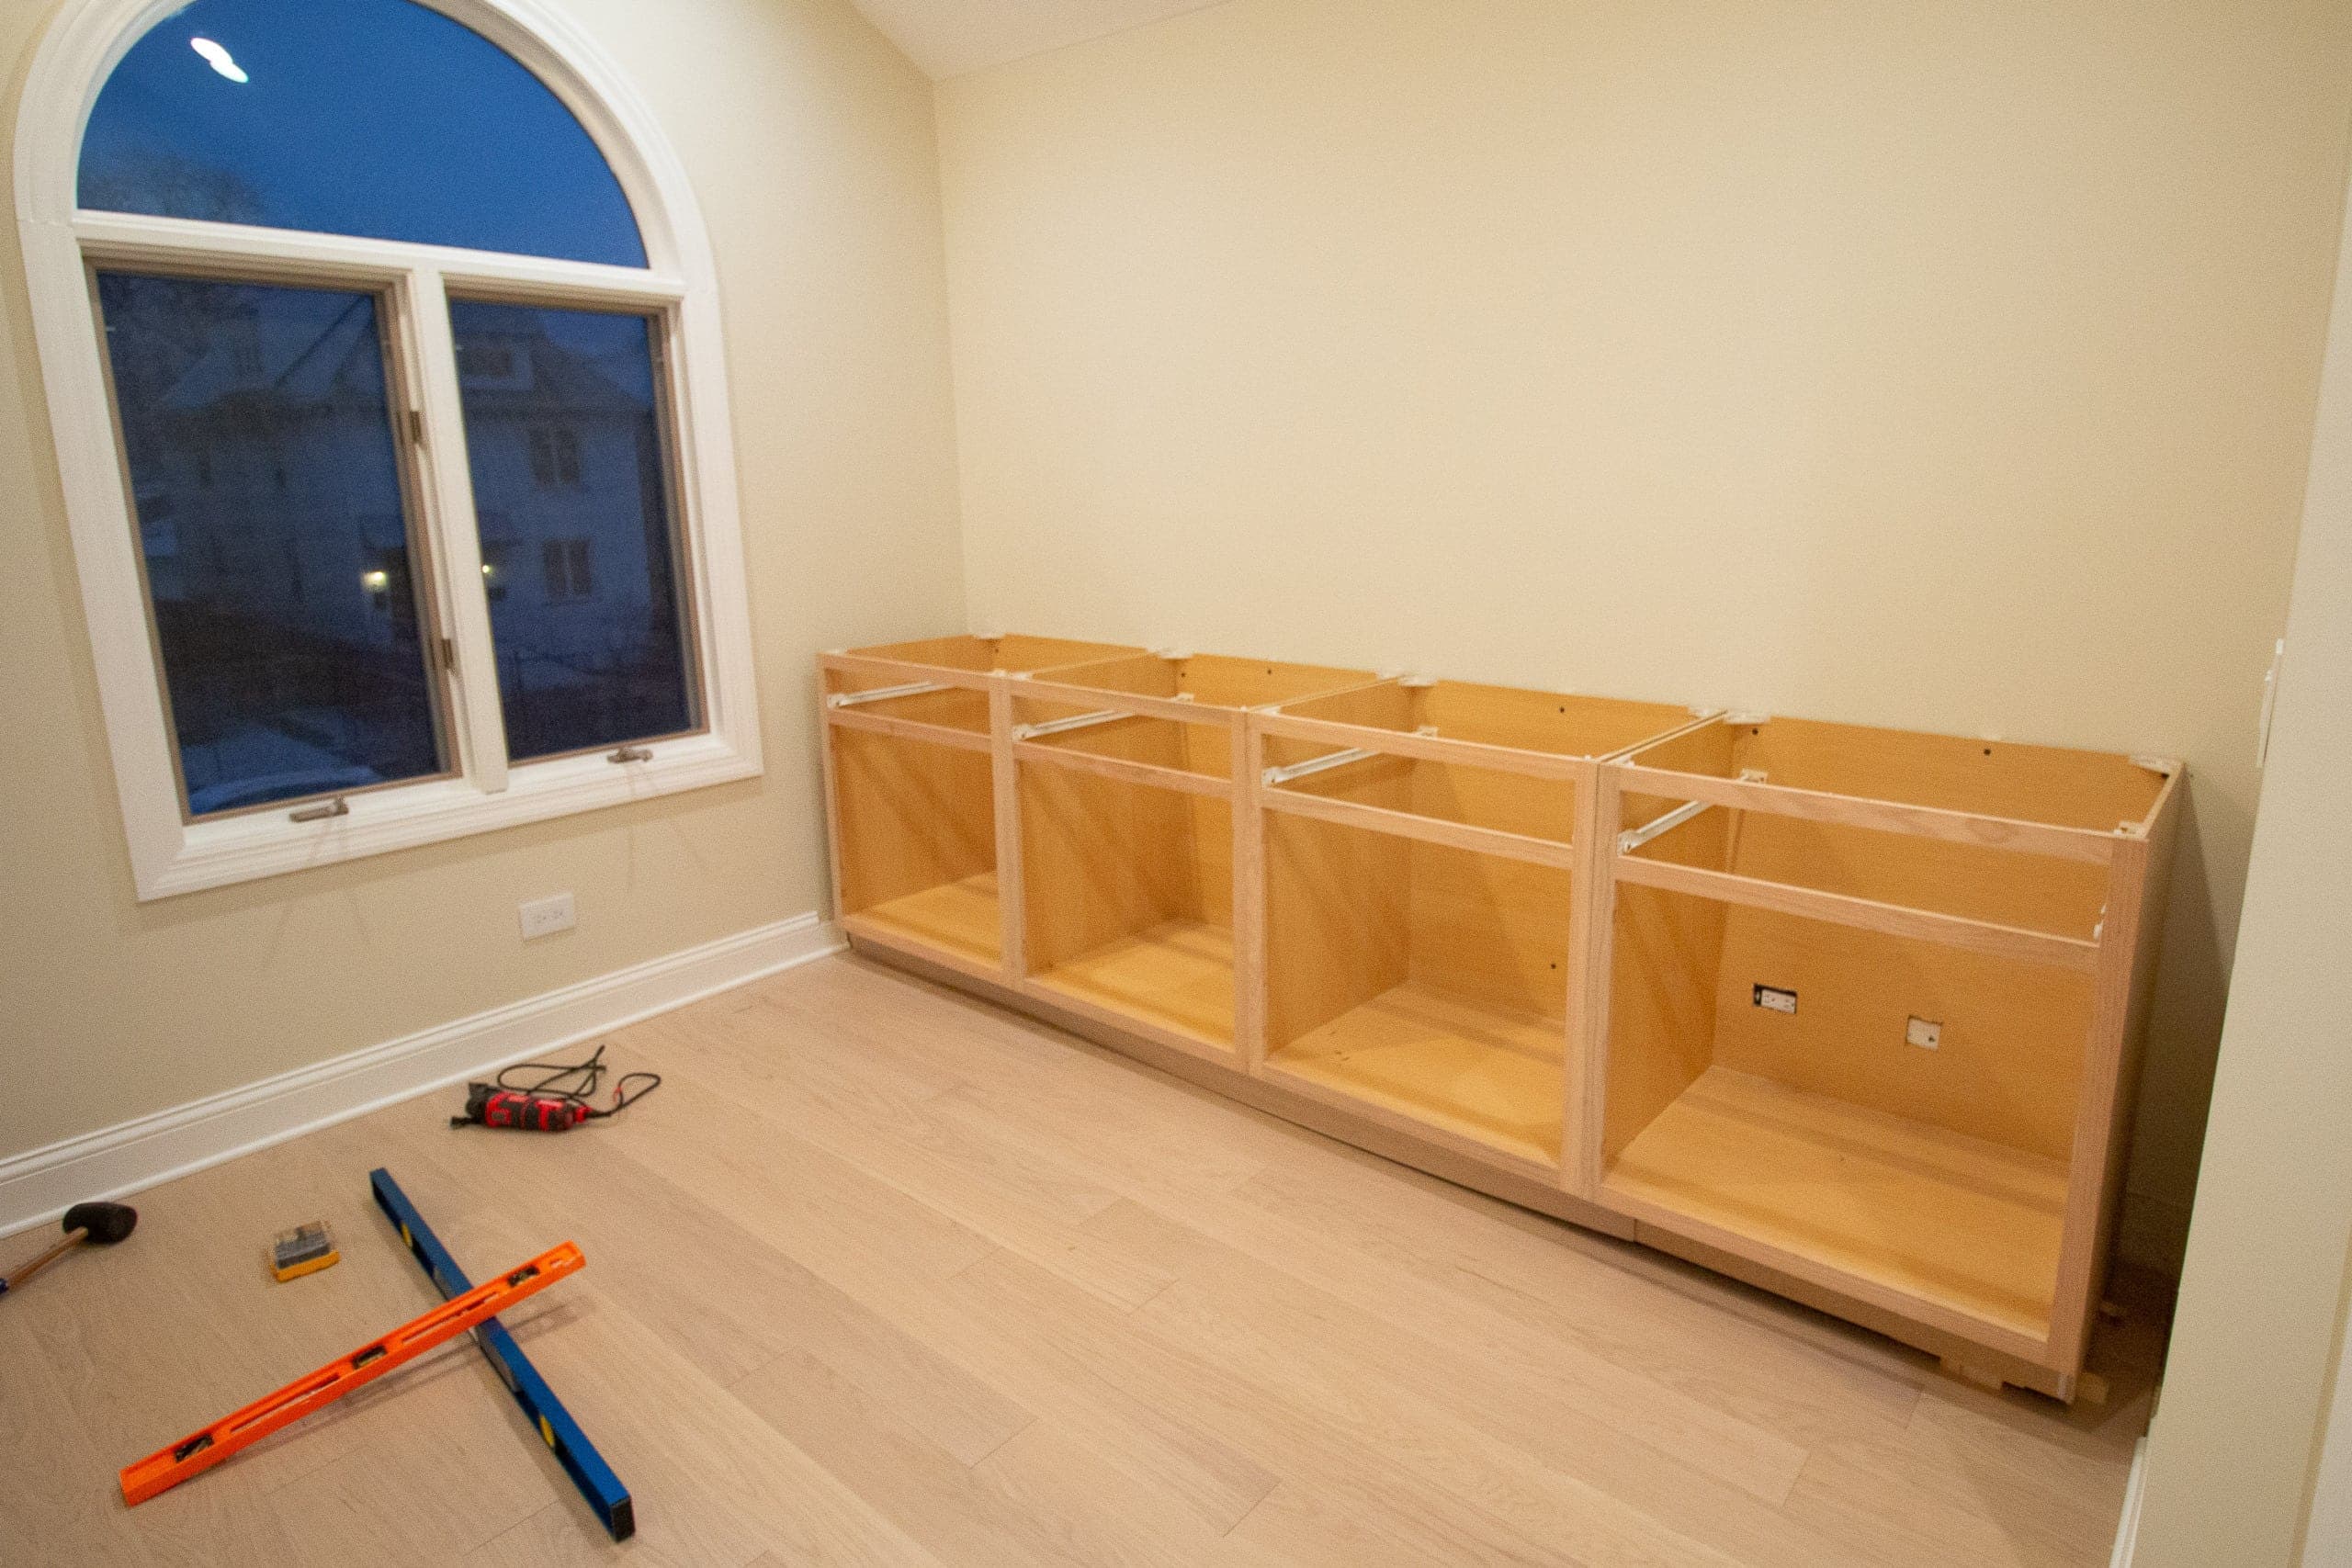
Each cabinet will be 32.5(w) x 96(h) x 15(d). The cabinets i am building in this instructable are bathroom vanities. Adding the faces is merely just building some rectangles and attaching them to the cabinet with some finish nails. Set the cabinet on the base, scribe it to the wall, if necessary, and belts and to your scribe lines. If your ceiling is about 8 ft. If you're looking to spruce up or replace your kitchen cabinets, we've assembled a list of 16 blueprints below. Our garage walls were 10 ft. Here are the materials you'll need to build a pantry cabinet, sanded cabinet plywood, wood screws, wood glue, screen molding, some pieces of plywood for the back panel, and other supplies. There are more options for customization when you build your own cabinets. The making process is super easy and simple for anyone without any skills to build. While having a floor to ceiling cabinet would have given us a little more storage, it would have looked out of place because none of the other cabinets go that high. Shimming up a cabinet to make it level and plumb is much easier than cutting the bottom to make it fit square and flush. Measure and cut the cabinet door trim to size and drill 3/4″ pocket holes in the ends of both vertical trim pieces.
These kinds of cabinets can be used in any place like in the kitchen area for storing up the extra food items. The cabinets i am building in this instructable are bathroom vanities. Attach them to the top and bottom pieces with 1 1/4″ pocket hole screws and wood glue. For a base cabinet less than 4' wide, you can cut all the parts except the back and toekick from one 3 ⁄ 4 ×4'×8' sheet of plywood or mdf. You choose the wood and the style.
How To Install Diy Built In Cabinets The Diy Playbook from thediyplaybook.com You will need to have the time. Plywood thicknesses vary, though, so make certain your material thickness measures a true 3 ⁄ 4, or adjust your part dimensions to achieve the final cabinet width. How to build a bath vanity using simple building techniques that anyone with basic tools can accomplish. To install the cabinet, you'll need to shim the base to the floor to level it. Adding the faces is merely just building some rectangles and attaching them to the cabinet with some finish nails. Here is the where the cabinets really take form. Then, cut 4 pieces of 1 by 6 lumber to the same width as the bottom panel for the front, back, and top brace panels. There are some interesting options on this list:
These kinds of cabinets can be used in any place like in the kitchen area for storing up the extra food items.
Tall, you can eliminate the deep upper cabinets. These kitchen base cabinet ideas are ideal for both modern and vintage style homes. Once the middle cabinet carcass was assembled, i stapled a ¼″ plywood back onto the bottom cabinet portion of the piece. If your ceiling is about 8 ft. I use the kreg system to join the face frames. Plywood thicknesses vary, though, so make certain your material thickness measures a true 3 ⁄ 4, or adjust your part dimensions to achieve the final cabinet width. Now, step back and admire your work! That's less than i would have paid for wimpy 'utility' cabinets at a home center. Remove the cabinet and position the deflector over the opening by aligning the front edge with the line scribed on the floor. Add backing to middle entertainment center cabinet. Here are some of his best tips for cutting labor and hassles, without sacrificing quality. Here are the materials you'll need to build a pantry cabinet, sanded cabinet plywood, wood screws, wood glue, screen molding, some pieces of plywood for the back panel, and other supplies. To install the cabinet, you'll need to shim the base to the floor to level it.
Since this cabinet was so huge, i had to assemble it on the floor and maneuver it around between the tractor and my workbench. For a base cabinet less than 4' wide, you can cut all the parts except the back and toekick from one 3 ⁄ 4 ×4'×8' sheet of plywood or mdf. Shimming up a cabinet to make it level and plumb is much easier than cutting the bottom to make it fit square and flush. To find the high spot of the floor: When you build your own pantry, keep the proportions of the rest of the kitchen in mind.
Kitchen Base Cabinets 101 Ana White from ana-white.com Our plans will show you how to build your own in two weekends, max. We used finish nails/screws to attach the cabinets to the 1×2 and each other. Then, cut 4 panels out of 1 by 6 lumber for the base panels and top bracers, and cut 4 more panels for the face of the cabinet. To build a cabinet, start by cutting panels for the bottom and sides out of mdf, plywood, or another type of laminate. When you build your own pantry, keep the proportions of the rest of the kitchen in mind. Once the middle cabinet carcass was assembled, i stapled a ¼″ plywood back onto the bottom cabinet portion of the piece. You will need to have the time. Each cabinet will be 32.5(w) x 96(h) x 15(d).
Remove the cabinet and position the deflector over the opening by aligning the front edge with the line scribed on the floor.
We used finish nails/screws to attach the cabinets to the 1×2 and each other. You choose the wood and the style. Start by ripping two side pieces to the. To build a cabinet, start by cutting panels for the bottom and sides out of mdf, plywood, or another type of laminate. This line will be used to position the deflector. Here are the materials you'll need to build a pantry cabinet, sanded cabinet plywood, wood screws, wood glue, screen molding, some pieces of plywood for the back panel, and other supplies. Things to consider when building a pantry cabinet. Our plans will show you how to build your own in two weekends, max. The design i am using is a very conservative straight line design. Tall, you can eliminate the deep upper cabinets. For a base cabinet less than 4' wide, you can cut all the parts except the back and toekick from one 3 ⁄ 4 ×4'×8' sheet of plywood or mdf. Cut using a saber saw. Use a table saw to cut plywood strips for your face frame cabinets.